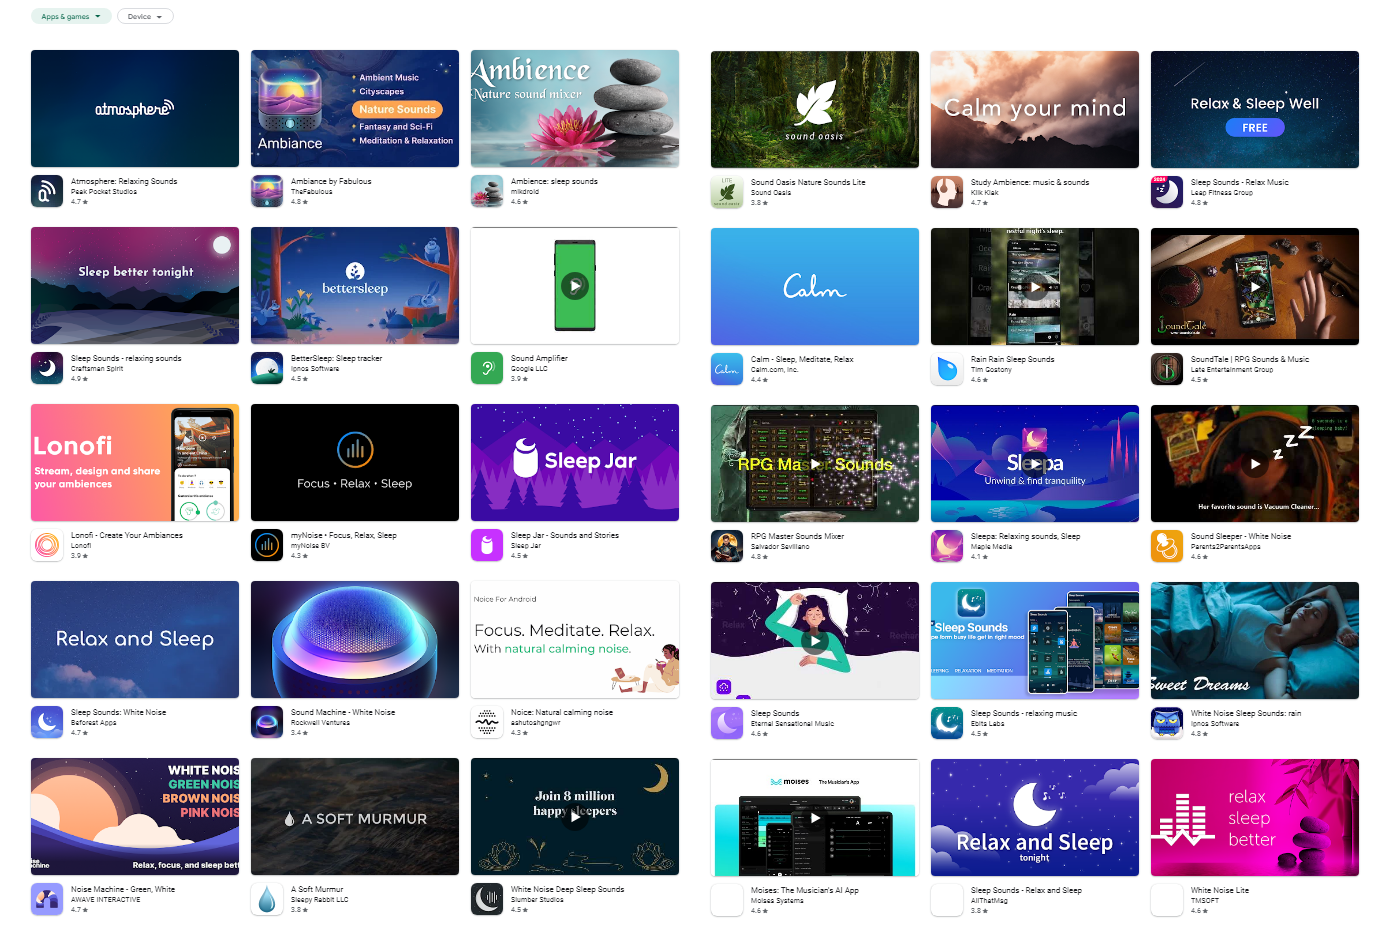
 FIRST PAGE RESULTS OF APPS TAGGED WITH "AMBIENT SOUNDS" ON PLAYSTORE
PHASE 1: RESEARCH
As i already have said, i had already tried many of the top apps on the playstore and websites and most of them lacked something. The best i found was ambient-mixer. Massive library of sounds, no bugs, some amount of controls, but still not a lot and with only 8 channels. The playstore apps were much worse. Most of them either didn’t have a decent collection of sounds, were flooded with ads, locked behind strict paywalls and overall just copies and copies of low effort apps, as is common on the PlayStore. I knew that an app like Ambientify would fill that gap and provide a lot more value to people. I also went ahead and looked at what people were saying in the reviews, to get an idea of what the users actually wanted, and they pretty much aligned with me. So again, good sign.
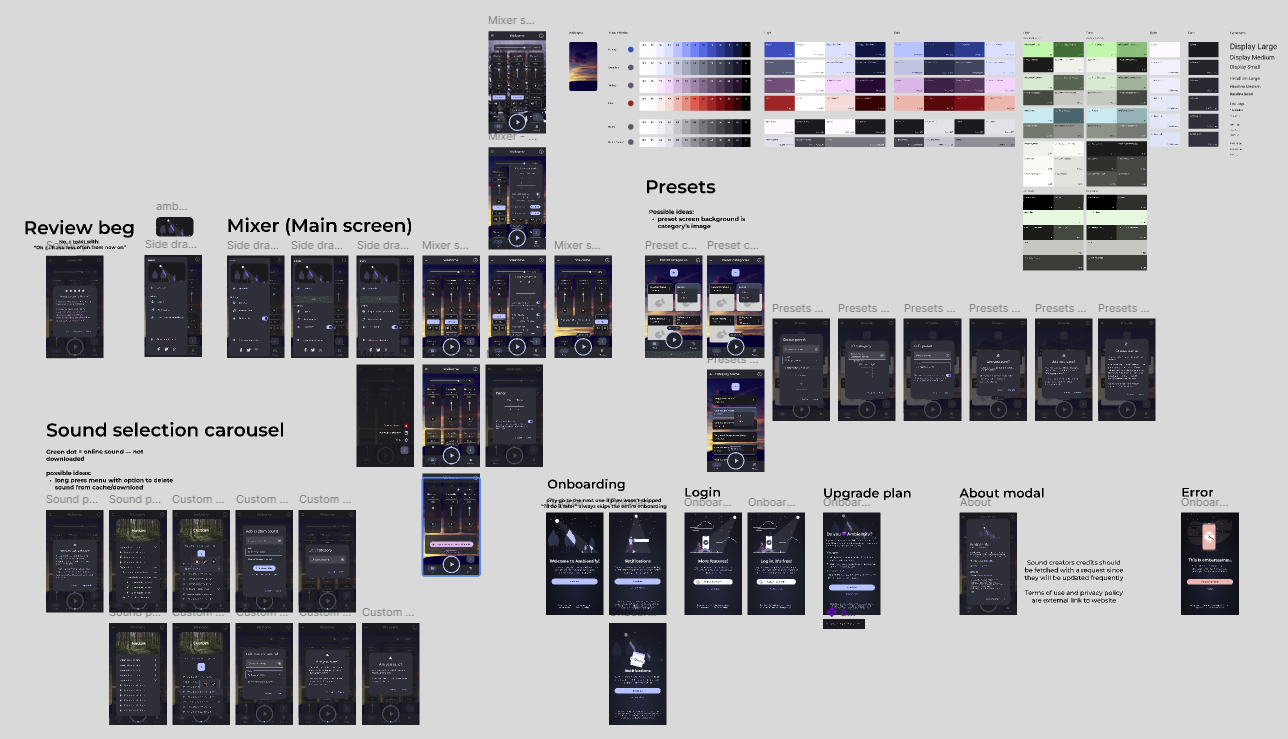 FIGMA FILE FOR THE DESIGN
PHASE 2: UI/UX DESIGN
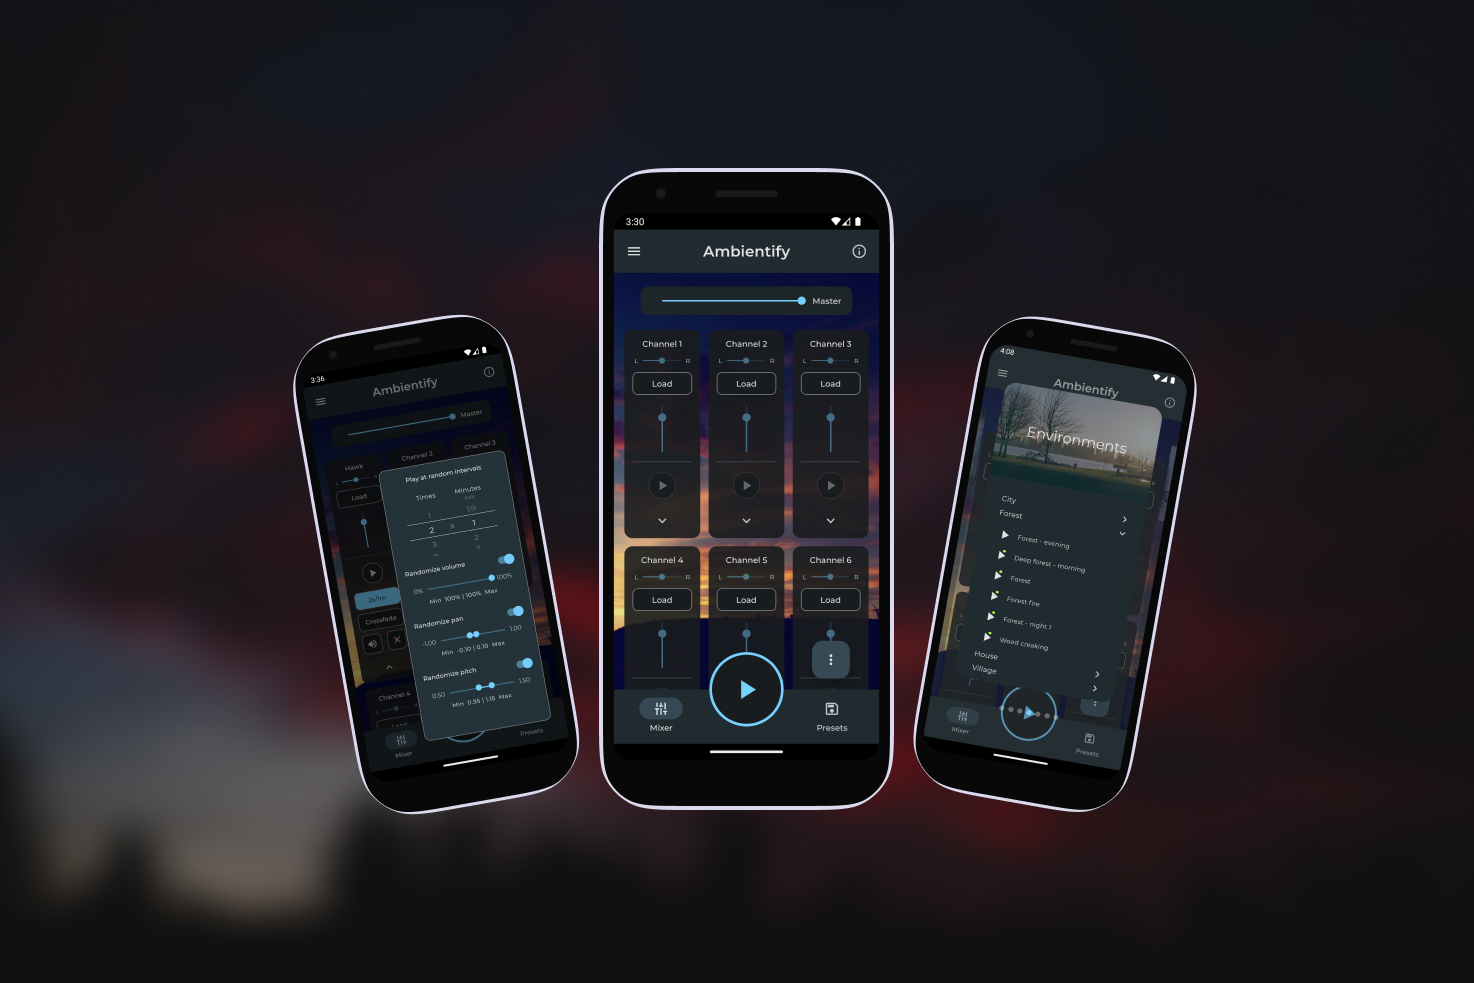
For the first version of Ambientify, i designed everything from scratch. In the second version however, i chose to go with Material You, as it had improved quite a lot the feel of Android devices and the overall theme really fit with my vision of how the app should look like, so i built on top of it, especially since i do not want to support Apple, considering i don’t have an Apple device to test and build from.
The most difficult part about designing the app was definitely the channels and controls. I wanted to make sure that the app didn’t look like one of those old webapps that used PNG images / sprites for every single control. But i also wanted to make sure that the user felt like they were using some sort of Audio mixing tool.

One of the issue was the narrow nature of mobile devices (i didn’t want to lock the app in landscape mode). It obviously had to look like a Mixer, but i wanted to make it mostly vertical, using Material style components, so, different kinds of sliders and buttons instead of knobs and switches (which would be madly difficult to control anyway on small devices or would just not fit with the overall Material theme). Another issue was with the additional controls introduced in Ambientify v2. There were just way too many of them to fit in a channel, and it would increase the complexity of the UI for newcomers. I decided to add a toggle to hide all of the secondary controls and keep only the most important ones (off by default). This simplified the UI a lot.
I also decided to use popover menus for the more “advanced” controls. This allows for future addition of many more controls without compromising usability.
I also wanted to offer some UI customization. I really care about letting people express their identity, even when doing something as “small” as putting on some sounds to aid sleep. So i added an option to change the background image of the app, either by setting a single image, or per-preset. Nothing more lovely than looking at a fireplace image while hearing the comfy sounds of a fireplace. And of course, i added support for user theme colors and adaptive icons.
The current design i arrived at is by no means perfect, but i’m confident it’s a major step up from the average contender.
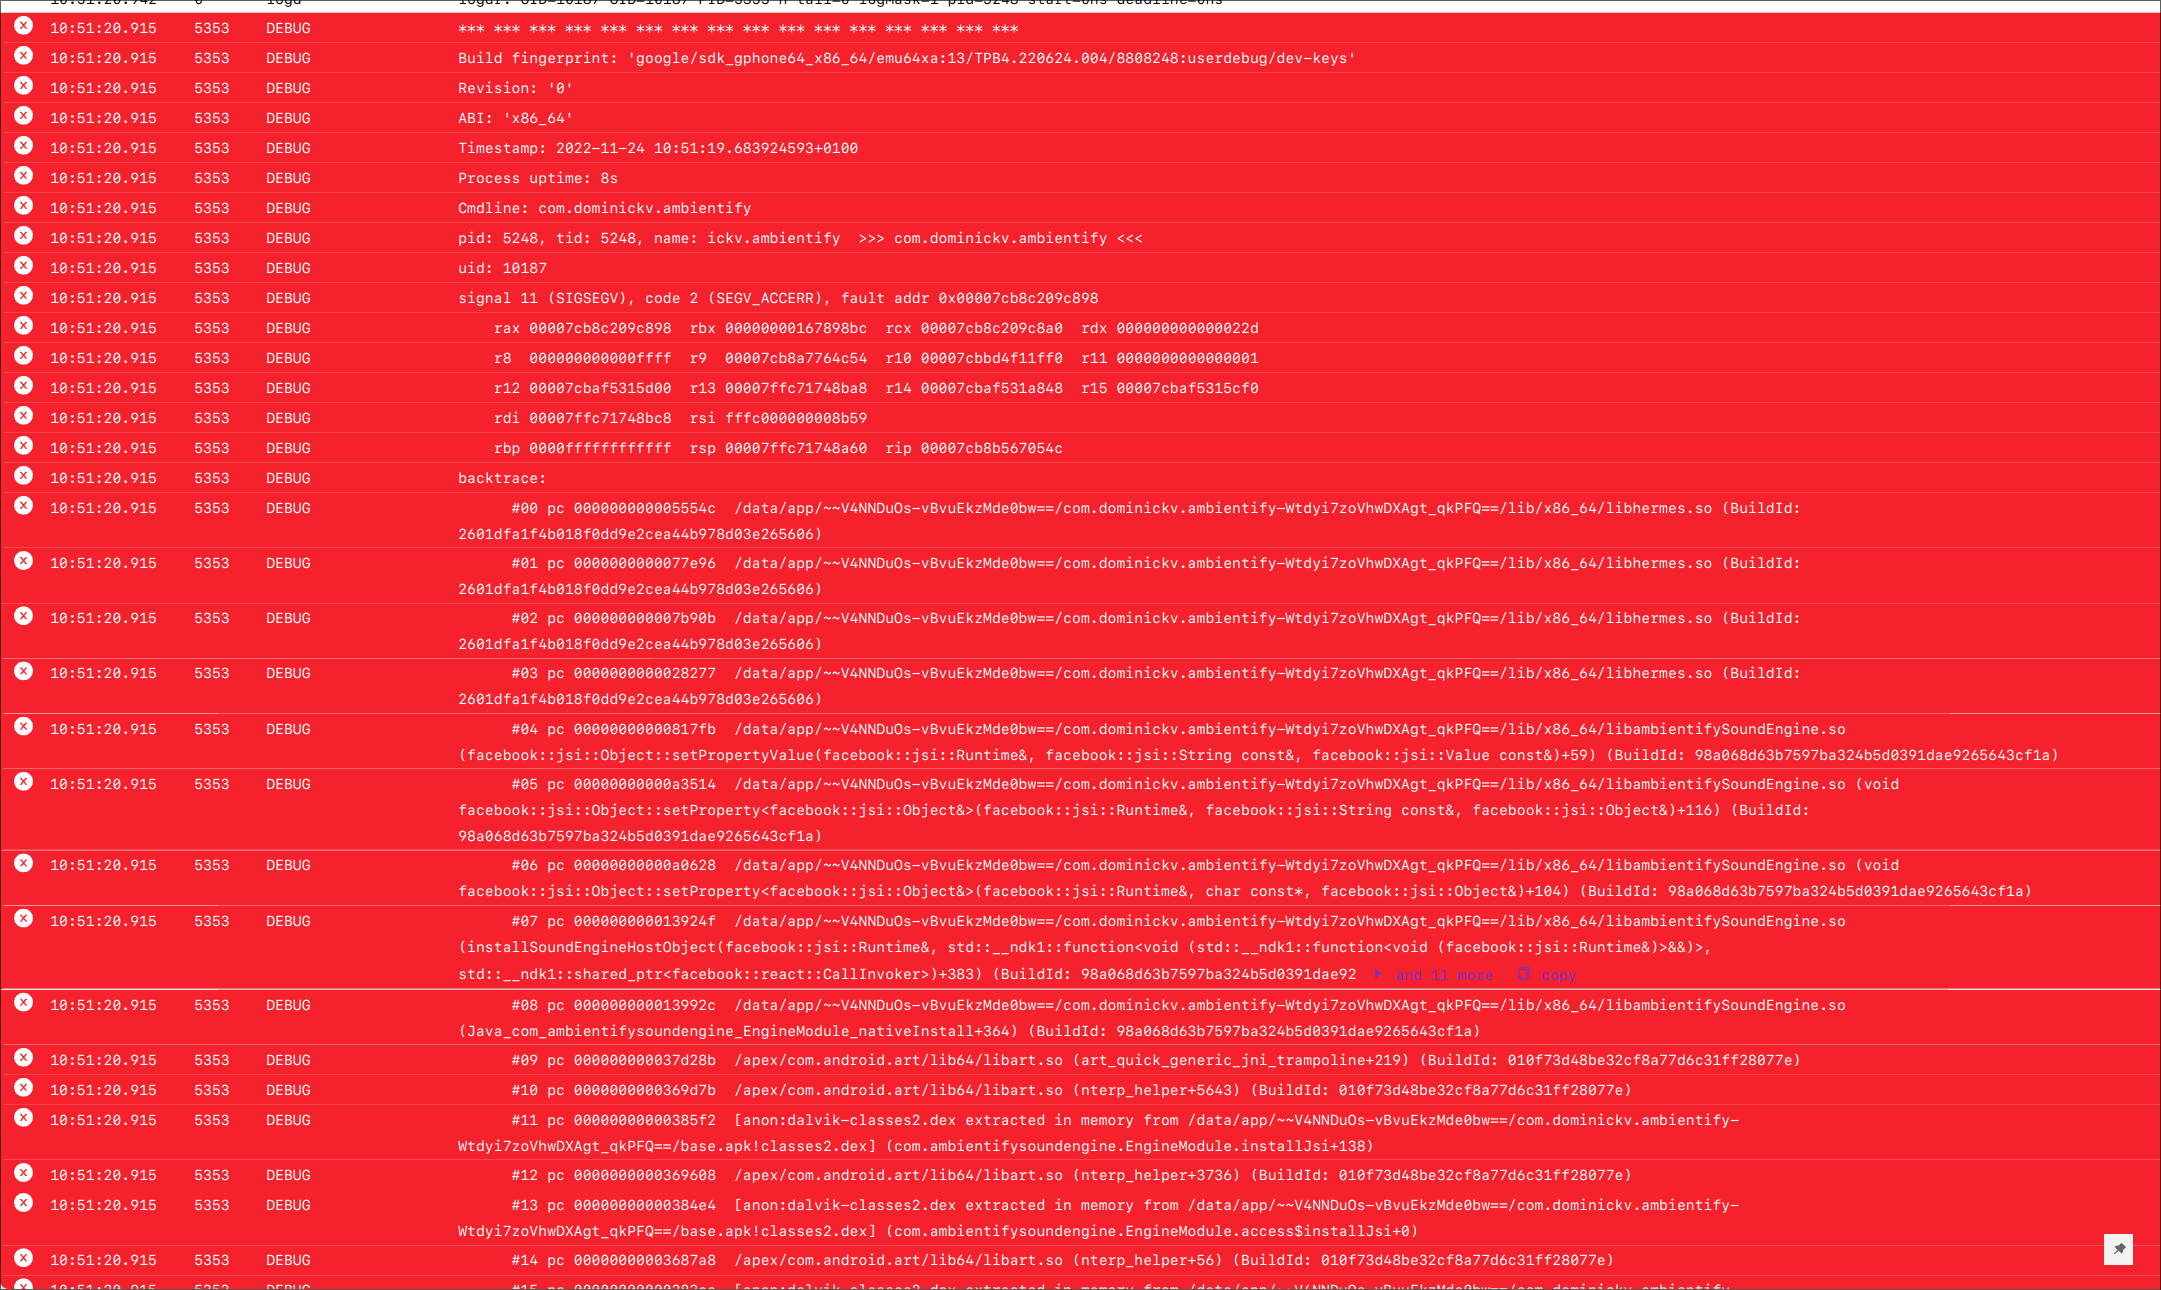 AVERAGE JSI DEVELOPMENT MOMENT
PHASE 3: DEVELOPMENT
For the most part, development went smoothly, it was definitely not a super complicated project (or so i initially thought) even with the not-so-extensive amount of experience i had back then. When i first started development back in 2020, Expo wasn’t as advanced as it is now, so i chose to go the ‘vanilla’ react-native way, using standalone expo libraries instead.
For styling i went for styled-components with the styled-system approach.
For state management i went for redux + redux-toolkit.
As for the audio, i used expo-av. At one point i needed audio panning, which wasn’t available, but i was already invested time in expo-av, and most other libraries weren’t that great, so i decided to just add it myself and contribute.
Unfortunately, just when i thought i was getting close to a new release, i noticed a nasty bug. As soon as i started playing more than 8-12 sounds concurrently, some of them would just randomly stop. I couldn’t figure out what was going wrong, i spent hours inside the expo-av’s codebase only to find out from the nice people in the expo’s official discord, that Android has a hard limit of 32 AudioTracks PER DEVICE. This meant that even just playing more than a dozen sounds concurrently would be a gamble, and considering i was about to add crossfading functionality to expo-av (which would have required 2 audio tracks per sound), i just knew i had hit a wall. I looked far and wide for alternative audio libraries that would work around that limit, but to no avail. Eventually, someone at Expo suggested me i write a native java module to merge sounds together into one buffer, but that was completely outside my skill level, as i knew very little about audio programming. One thing was certain: i had to just give up the idea of only writing Typescript. There was no way around it, i had to write a native module for sure. I stumbled across several lower level libraries such as Oboe, but i also found out about engines like Wwise, and FMOD, which allowed for virtually almost an infinite amount of concurrent sounds, if handled correctly. Considering i had more experience in C++ than java, i chose to use the FMOD’s native C implementation. The question was: how would i make this work? How do you even run c++ code from a react-native app?! That’s when i learned about the (literally) hidden, undocumented* world of JSI.
*Undocumented at the time. I’m aware that now react-native has not only better docs, but also better tooling around JSI, including automatic codegen, thanks to TurboModules
I started looking for some good articles or videos on the topic, but there was almost 0 information, so i resorted to searching on github for repositories containing any trace of JSI code. Luckily, a couple of nice people, had some good projects on github that i could learn from: RN-Quick-Sqlite by Oscar and Marc’s stuff (Of course, looking at the JSI source also helped, although not as much, given i didn’t have that much experience with complex stuff like that).
But even then, the amount of shared_ptr shenanigans, indirection, and “boilerplate” was exhausting. Not to mention the issues with cmake libraries not generating correctly, and don’t get me started on the debugging issues with Android studio… But i pushed through. I was in too deep to give up. Once i managed to correctly write bindings, the actual engine implementation using FMOD as a wrapper was relatively easy, finally leading to the working Ambientify’s sound engine.
By default, JSI functions would still block the javascript thread, so i had to make all of the bindings asynchronous. I used a simple Thread Pool implementation to parallelize calls as well to improve performance.
I’m not going to lie i didn’t have much fun dealing with that, but the amount of pride i got in myself after conjuring up a working prototype of the new engine was worth it. After that, everything else went much more smoothly. Considering i was running out of time, i decided to use Firebase for both hosting the sounds and dealing with Auth / Server side stuff along with RevenueCat for managing subscriptions. Learned a ton from that too.
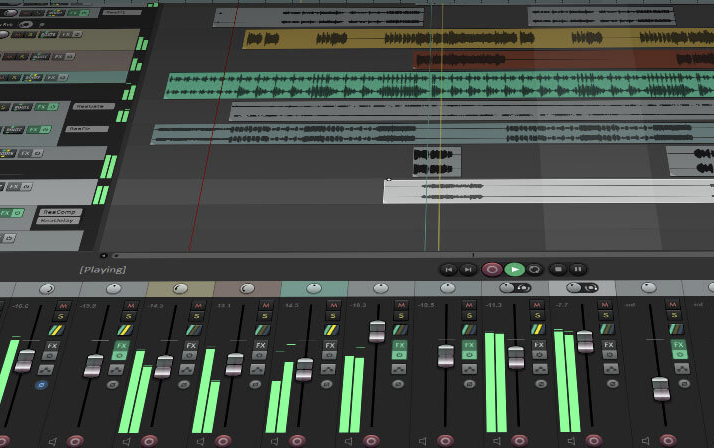 SOUND DESIGN IS DEFINITELY NOT EASY
PHASE 4: ADDING SOUNDS
I got most of the sounds from freesound.org and other royalty free sounds providers.
Most of the sounds needed some retouching, especially for making sure that they could loop and crossfade seamlessly… Also, some of the sounds weren’t super great to start with, so i used a DAW to sound design / improve what i could. I think 90% of the sounds are modified by me in some way. I then encoded them using the .ogg vorbis format. Ideally, i wanted to hook directly on the freesound.org API, but after asking the admins how much it would cost me and seeing my hair turn white, i refrained.
Given that i did add quite a few sounds already, i decided to write a small script to help with uploading the sound on firebase, as it also updated the credits, translation files (each sound has its own translation) etc.
I then uploaded the sounds on Firebase Firestore database. The app periodically queries the database for new sounds (along with the credits). I bundled the apk with a limited amount of sounds, but not enough to impact the bundle size too much. The rest of them are downloadable, with the free tier offering a generous amount of them.
 COVER IMAGE FOR THE AMBIENTIFY APP
REFLECTIONS ON MISTAKES AND GOING FORWARD
Ambientify was my first serious project, i learned a lot from it. The main lessons i learned were:
- Always properly test your dependencies before committing. ALWAYS. In my case i did test expo-av quite a bit, but unfortunately, i never asked myself
what happens if i stress test this?. - Always create a MVP with no eye candy — just pure business logic. Then the candies come later. (Sounds obvious now that i have more experience)
- The react-native motto ‘learn once, write anywhere’ has some truth to it, but it’s not universal. The moment your app increases in complexity, you can be damn sure you’re going to write some native code. And it’s honestly fine. React-native is still very good at what it is.
- Have no shame in asking other people for help. Sometimes that one dude sipping his coffee on his break gifting some of his time to others might save you a week of headaches.
- I should have advertised the app more, and kept updating regularly, as PlayStore seems to “punish” apps that aren’t updated often
That’s all. If you have any questions, feel free to contact me. I’ll be super glad to answer. And if you end up trying my app, please let me know what you think!